
For seamless installation and setup of Canon Printer ij.start.canon is the best site to visit & proceed ahead. On visiting the online platform, you can download & install Canon Printer Driver on your device. Besides, it makes it easier to connect Canon Printers.
Getting Started with IJ Canon Setup
Prior to setting up your Printer Setup all you need is to fulfil following requirements:
- Keep your Printer Model No. handy.
- Ensure that plug is put into Power.
- Make sure to connect to Internet Connection.
- Install Canon Setup Driver from offcial website properly.
- Shut the ‘feed slot cover’ & Paper output tray.
- Select the ‘Execute’ option on pulling out the output tray & tap on the ‘Align Print Head’.
- If you see flash of orange light then tap on the ‘Cancel’ button.
- As the configuration completes exit it.
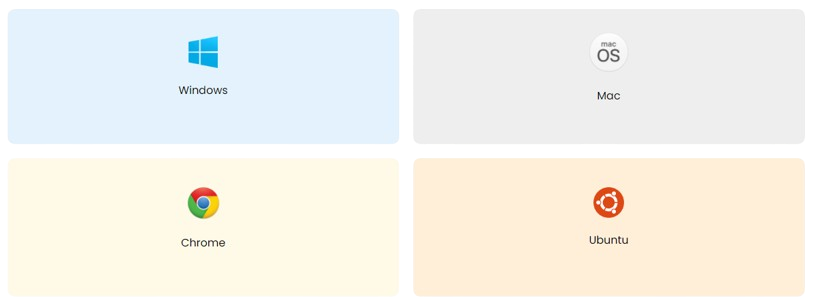
Canon Printers Compatibility
Canon Printers are compatible with – Windows, Mac, Ubuntu & Chrome Web browser to perform Canon printer setup.
Setup & Install Canon Printer on Windows
- Navigate to Canon website – ij.start.canon.
- Now, put in the Printer Model No. in the search bar.
- Tap on the “Setup” button.
- On the Download page, tap on the “Download” button.
- Click on the “Go” button then “Start” button.
- Thereafter, tap on the download link to install required Printer driver.
- Now, go ahead with on-screen instructions.
- Further, ‘exe’ file starts to download.
- Now, “User Account Control” pop-up will appear.
- Lastly, tap on the ‘Yes’ button.
- You will now see the “start setup” window on your screen.
- Complete setrup with Test page printing.
Setup & Install Canon Printer on Mac
For setting up Canon Printer on your Mac device,
- Head on to Web browsser & type “ij.start.canon” on the address bar.
- Click on the ‘Setup’ button.
- Then, on the search box put in your Printer model.
- Tap on the ‘Go’ button.
- Hit the ‘Start’ button.
- Go ahead with the on-screen instructions.
- Now, tap on the ‘Download’ button.
- This begin download of ‘dmg’ file & open it as it downloads.
- Now, tap on the “User Account Control” option.
- Click on the ‘Yes’ button.
- Now, you’ll see ‘Start Setup’ screen.
- Move ahead with the steps given here.
Steps to Align Canon Printer Head
- Plug in your Printer & Computer to Power.
- Now install the Canon Printer Software on your device with on-screen prompts.
- Upon successful Printer software download, launch it under the name “Canon Printer Utilitys”.
- Nextly, tap on the any of the options – “Maintenance,” “Settings,” or “Tools.” shown as per your Printer’s Model.
- Find “Alignment”/“Align Print Head” option.
- Go ahead with on-screen instructions. Load sheet of paper & continue with Alignment process.
- Put in the Alignment page in face down manner on the Scanner glass.
- Scan the Printer Alignment page then.
- On completion of the Alignment process, a message will appear. Now, you can
Note: Based on the Printer Model, the intermediatory steps may vary.
How to resolve Canon Printer Issues?
To encounter issues related to Canon Printer, all you need to do is:
- Look whether your printer driver is compatible or not.
- Try by restarting your PC & Printer.
- Get latest drivers updates. Download the newest version of Printer Driber on your PC.
- Fix Common Printer related issues.
- Install the latest Printer driver version after uninstalling it.
- Make sure to connect your PC to
- Clear the Printer properly to ensure
- Ensure to check your Printer Settings like – Paper Size, Print Quality & Paper type.